
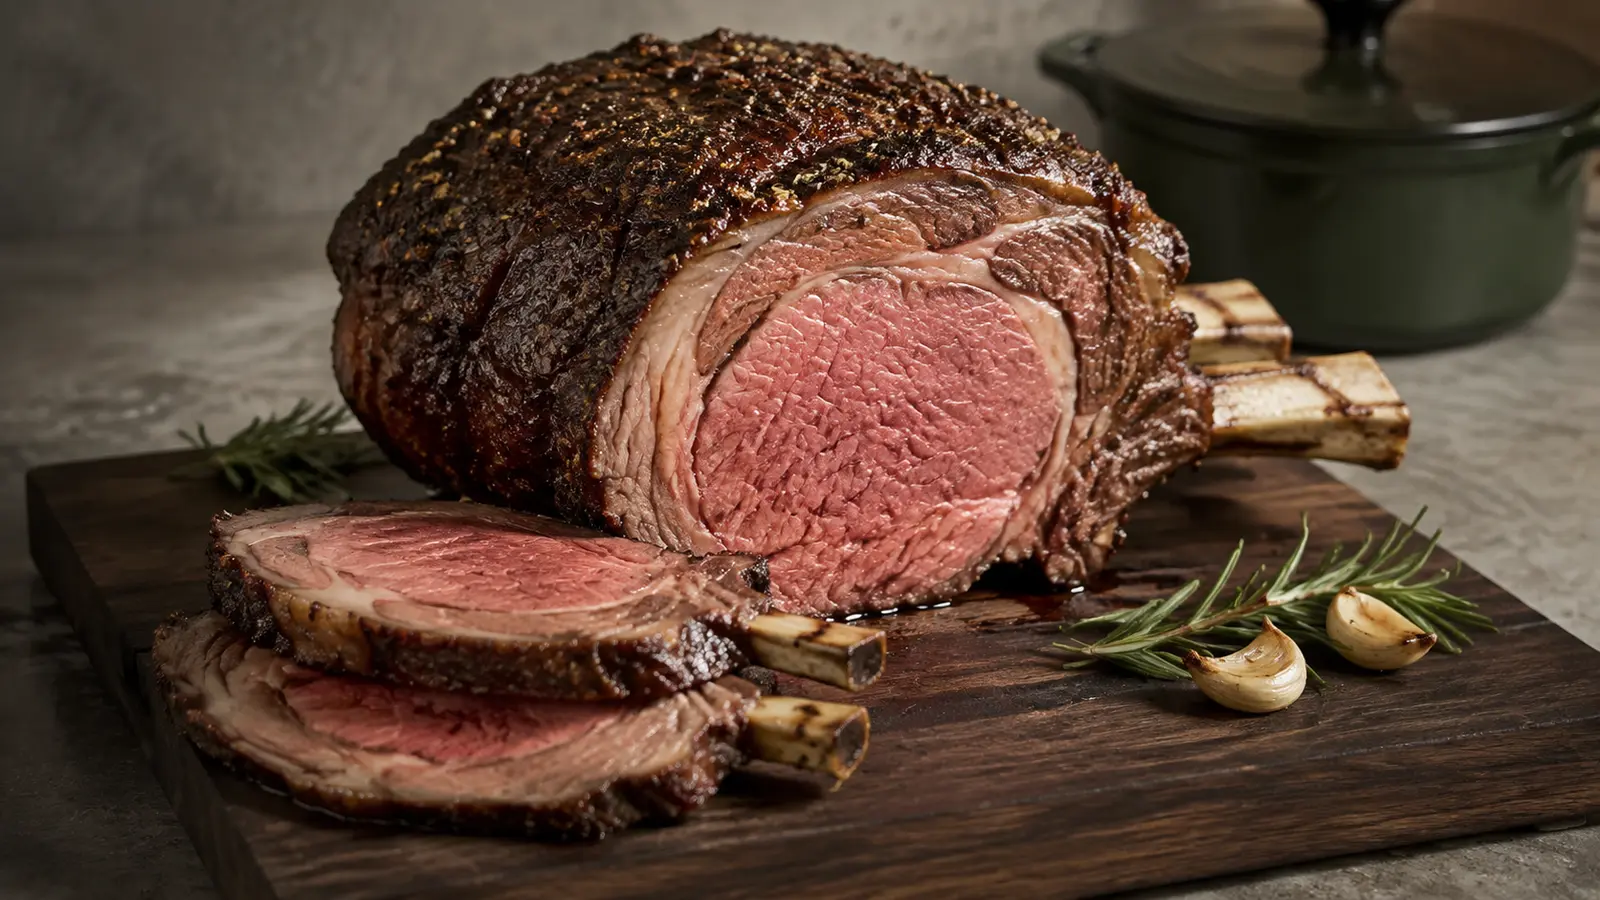
Salt the roast 24–48 hours ahead, roast at 225°F with a probe in the center, rest while the oven heats hard, then sear briefly and verify the final internal temperature before carving.
A thermometer is the schedule. Roast shape and starting temperature make time-per-pound charts approximate. For the USDA whole-cut safety baseline, verify 145°F in the coolest center and allow at least a 3-minute rest; lower culinary doneness targets sit below that recommendation.
Prime rib is expensive enough that a vague timer is not a plan. A low oven narrows the gray overcooked band, but the real control comes from measuring the center and separating the gentle cook from the final crust-building blast.
This guide uses a 7–8 pound bone-in roast as its working size and gives a safe published endpoint alongside common culinary doneness language. Oven calibration, roast geometry, bone structure and refrigerator temperature all change the clock, so begin early and use the rest window as schedule insurance.
Plan the clock before you begin
- Prep
- 25 min
- Cook
- 4 hr
- Chill / rest
- 24 hr
- Yield
- 8 generous servings
Ingredients, scaled to your table
Showing quantities for 8 servings. Scaling changes ingredient amounts, not pan size or cooking time.
Roast
Herb crust
Use the tool that controls the outcome
- Rimmed roasting pan with a fitted rack or a sturdy wire rack
- Leave-in probe thermometer
- Instant-read thermometer for verification
- Sharp slicing knife
- Large cutting board with a juice groove
Why each choice earns its place
Weight-based salt
A scale avoids the large volume difference between fine salt and hollow kosher crystals. The amount here is intentionally moderate; season the jus separately.
Bone-in shape
The bones act as a natural rack and make a dramatic presentation, but the center temperature—not bone count—determines doneness.
Probe placement
Insert from the side into the geometric center, away from bone and large fat seams. Confirm with an instant-read thermometer in a second spot.
Sear after the rest
Resting before the final blast keeps the crust crisp and lets you hold the roast while sides finish.
Follow the change you can see—not only the timer
- 1
Dry-brine uncovered
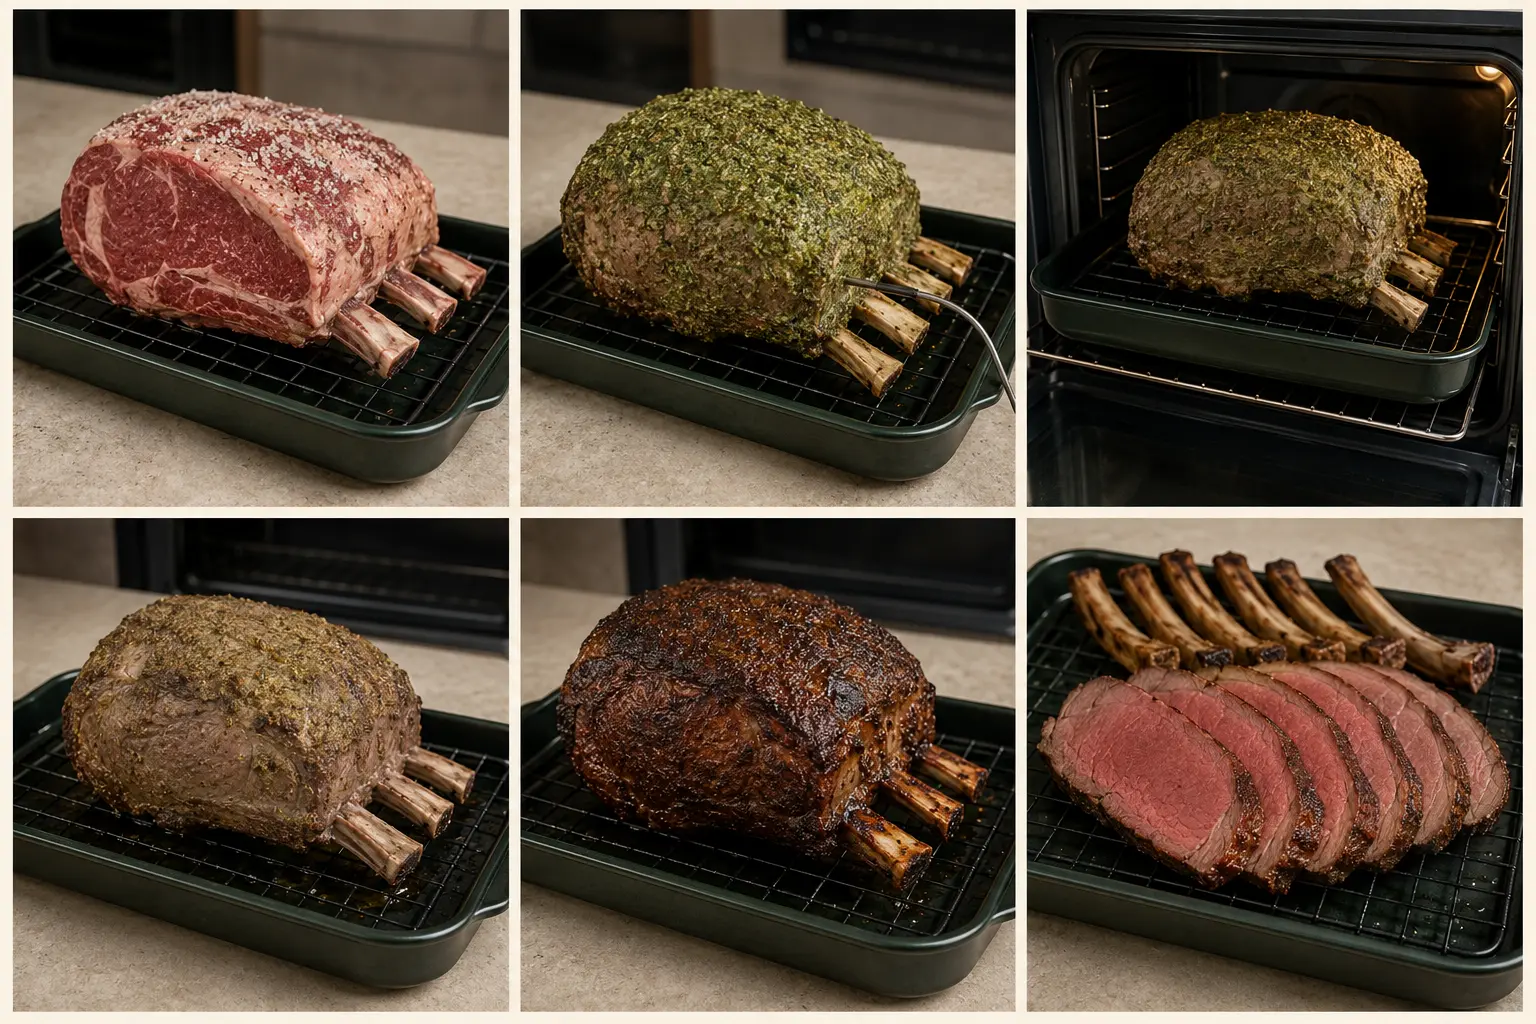
24–48 hrPat the roast dry. Salt every exposed surface, set it fat-side up on a rack and refrigerate uncovered for 24–48 hours. Keep raw beef on a low refrigerator shelf to avoid drips onto other food.
Look for: The surface is dry and slightly tacky, with no pools of moisture.
- 2
Temper the equipment, not the meat
20 minTake the roast out while the oven heats to 225°F (107°C). Mix pepper, oil or butter, garlic, herbs and Dijon; coat the fat cap and sides. There is no need to leave raw beef out for hours.
Look for: The paste forms a thin, even coat rather than thick clumps.
- 3
Place the probe correctly
2 minSet the roast bone-side down on the rack. Insert the probe horizontally into the deepest central muscle, avoiding bone and major fat pockets.
Look for: A second instant-read check within 1 inch gives a similar reading.
- 4
Roast low and plan a range
3½–4½ hr estimateRoast until the center approaches your chosen endpoint. A 7–8 pound roast often needs roughly 3½–4½ hours at 225°F, but begin checking much earlier than the estimate.
Look for: The temperature rises steadily and the exterior looks dry, not deeply browned yet.
- 5
Use a safety-aware endpoint
Temperature-ledFor the USDA whole-cut baseline, continue until the final process reaches 145°F in the coolest center, followed by at least a 3-minute rest. If planning carryover and a final sear, verify the actual final temperature rather than trusting a predicted rise.
Look for: Two thermometer readings agree in the coolest central area.
- 6
Rest while the oven heats
30–60 minRemove the roast and leave it uncovered or very loosely tented for 30–60 minutes. Raise the oven to its highest safe roasting setting, up to 500–550°F if the oven and pan permit.
Look for: The surface is dry and the internal temperature has stabilized.
- 7
Build the crust quickly
6–10 minReturn the roast to the very hot oven until the exterior is deeply browned and aromatic. Watch continuously; rendered fat can smoke. Recheck the center after searing.
Look for: The fat cap is mahogany, the herb paste is crisp and the center meets your selected final endpoint.
- 8
Remove the bones and slice
5–8 minCut the rib plate away in one piece, then slice the boneless roast across the grain into ½- to ¾-inch slices. Serve the bones separately or save them for stock.
Look for: Each slice has an even interior and the juice stays mostly in the meat, not on the board.
The four controls that matter most
Temperature beats the clock
Weight charts are planning tools; probe readings are doneness evidence.
A dry surface browns faster
Uncovered dry-brining seasons while reducing surface moisture.
Low heat evens the gradient
Gentle roasting reduces the overcooked outer band before the center catches up.
Rest creates flexibility
The pause before searing buys time for sides without sacrificing the final crust.
Diagnose the result before changing the whole recipe
| What happened | Likely cause | Next-batch fix |
|---|---|---|
| Center done, crust pale | Low roasting is designed to cook evenly, not brown hard | Rest, heat the oven fully, dry any wet patches and use the short final sear. |
| Large gray band | Oven too hot or probe target overshot | Use a verified 225–250°F oven and alarms that warn before the endpoint. |
| Uneven temperature readings | Probe touching bone or sitting in a fat seam | Reposition into the central muscle and verify in two nearby spots. |
| Too salty | Salt measured by volume with a denser brand | Weigh salt and keep the jus lightly seasoned until the meat is tasted. |
| Smoke during sear | Rendered fat, herb fragments or a dirty oven at extreme heat | Use a clean pan, trim only loose excess fat and choose the highest temperature your equipment safely supports. |
Change the flavor without breaking the method
Boneless rib roast
Tie at 1½-inch intervals for a uniform cylinder and place on a rack. Temperature still controls doneness; it may cook faster than a heavy bone-in roast.
Pepper-forward crust
Double the coarse black pepper and omit Dijon. Add garlic only for the final hour if your oven browns it aggressively.
Horseradish crust
Mix prepared horseradish into the herb paste, then serve fresh horseradish cream separately so guests control the heat.
Au jus
Degrease the drippings, deglaze with unsalted stock and simmer briefly. Season only after tasting the dry-brined meat.
Protect the texture after the main method
- Two days ahead: Salt and refrigerate uncovered. This is the ideal make-ahead step and needs no last-minute attention.
- One hour hold: The rest before the final sear is the schedule buffer. Keep the roast in a draft-free place and verify temperature before serving.
- Leftovers: Refrigerate promptly in shallow containers. Reheat leftovers to 165°F under USDA guidance, or use chilled slices in sandwiches if stored safely.
Short answers before you start
How long does prime rib take per pound?
Use minutes per pound only to estimate when to start. At 225°F, a 7–8 pound bone-in roast often takes roughly 3½–4½ hours, but shape, starting temperature and oven accuracy can shift that range. A probe thermometer decides when it is done.
What temperature should prime rib be?
USDA guidance for whole beef roasts is 145°F followed by at least a 3-minute rest. Lower rare or medium-rare targets commonly used in culinary recipes are below that safety recommendation.
Should prime rib be covered while cooking?
No. Roast it uncovered so the surface stays dry. During the long rest, leave it uncovered or use a very loose foil tent; a tight cover softens the exterior.
Do I need to bring prime rib to room temperature?
No. Let it sit only while the oven and equipment are prepared. Leaving a large raw roast out for hours is unnecessary and makes timing less controlled.
Can I salt prime rib two days ahead?
Yes. A 24–48 hour uncovered dry-brine is useful for seasoning and surface drying. Store the roast on a rack on a low refrigerator shelf.
When should I carve the bones off?
After the final sear. Remove the rib plate in one cut, then slice the boneless section across the grain for even portions.
What supports the safety and publishing details
- USDA FSIS — Safe Minimum Internal Temperature Chart ↗
145°F plus a 3-minute rest for beef roasts; 165°F for leftovers.
- FoodSafety.gov — Meat and Poultry Roasting Charts ↗
Official oven and internal-temperature planning guidance.
- Google Search Central — Recipe structured data ↗
Recipe rich-result implementation requirements.